 In this “Project Spotlight” we go behind the scenes of a bathroom renovation that not only enlarged the space for the homeowners, but brought great opportunity for collaboration and custom design.
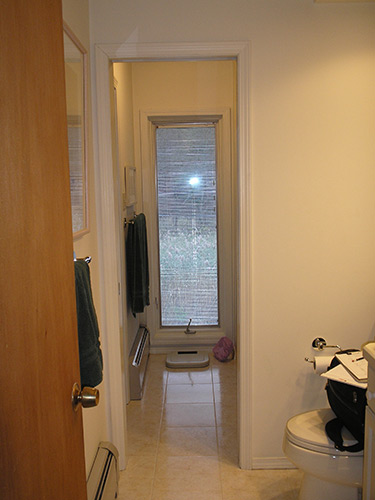
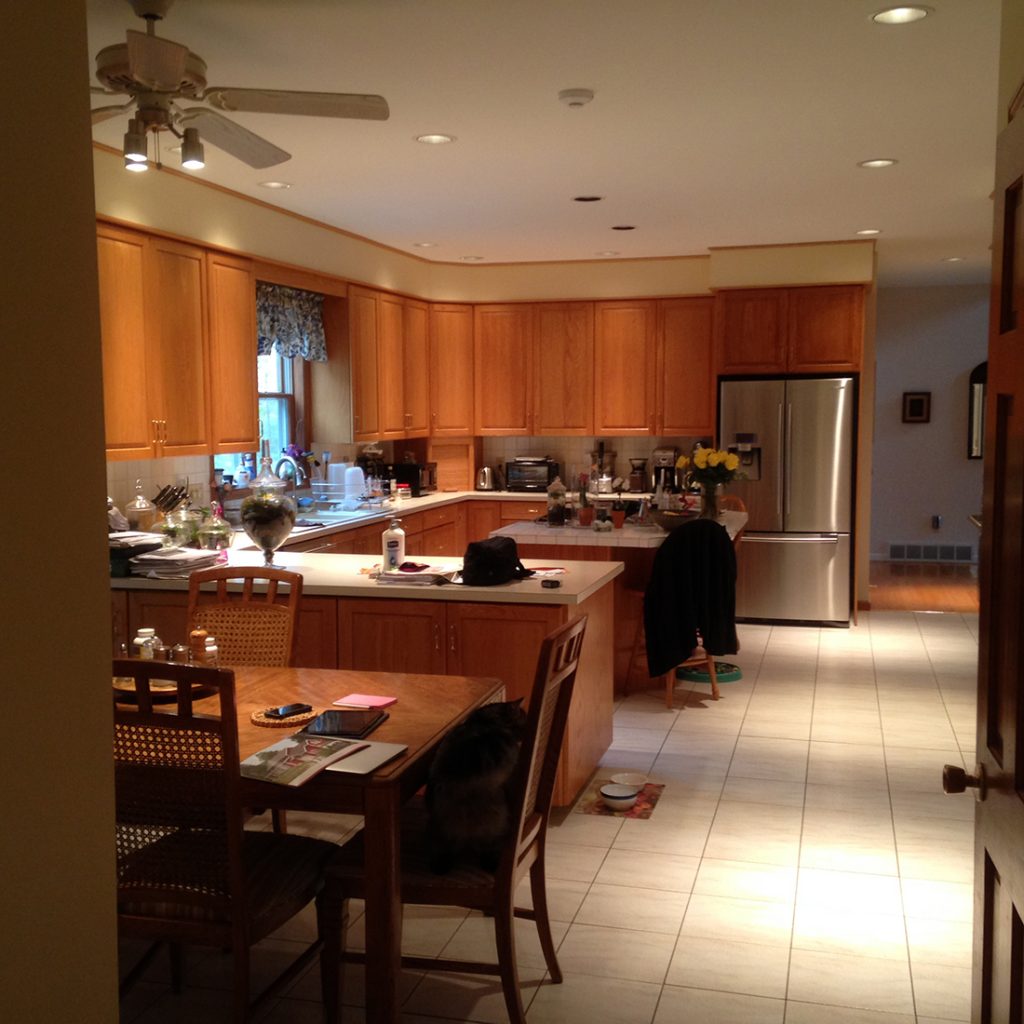
This second floor full bathroom was separated into two compartments by a pocket door, and accessible from both the master bedroom and the hallway. In order to enlarge the usable space, the pocket door was removed, and both plumbing and windows were relocated. Moving the toilet and removing an existing vertical window in favor of the new window located in the shower opened up the space considerably.
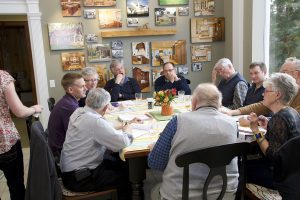
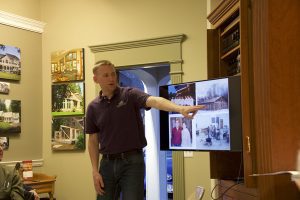
With those larger elements relocated, Project Planner Brian Taber set to work on a collaborative design process with the homeowners, which was a positive experience.
“These are long time clients with whom we’ve developed a real rapport and trust over the years. They are detail-oriented and come to the process with great ideas. Working with them is always a pleasure.”
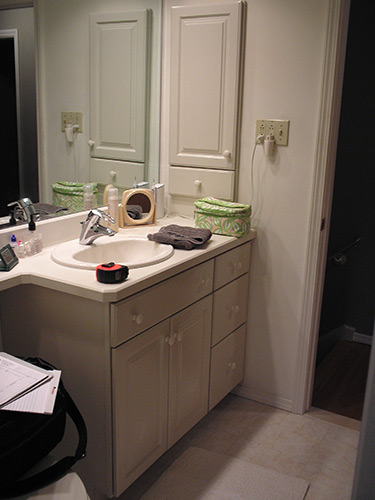
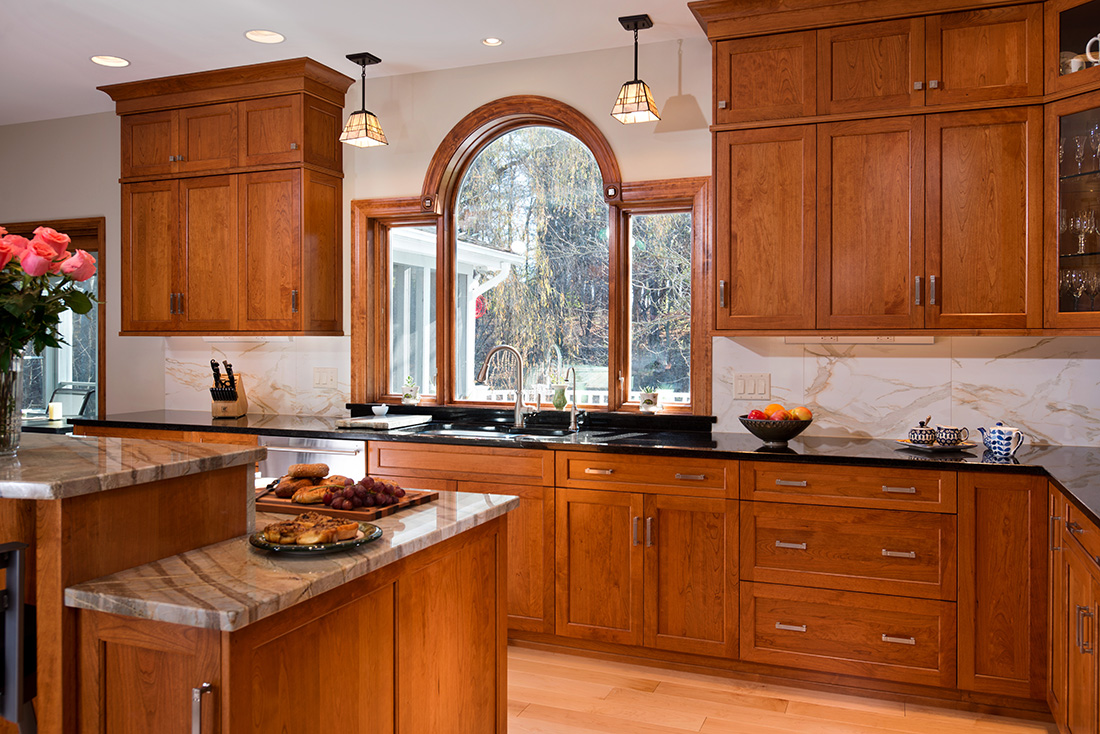
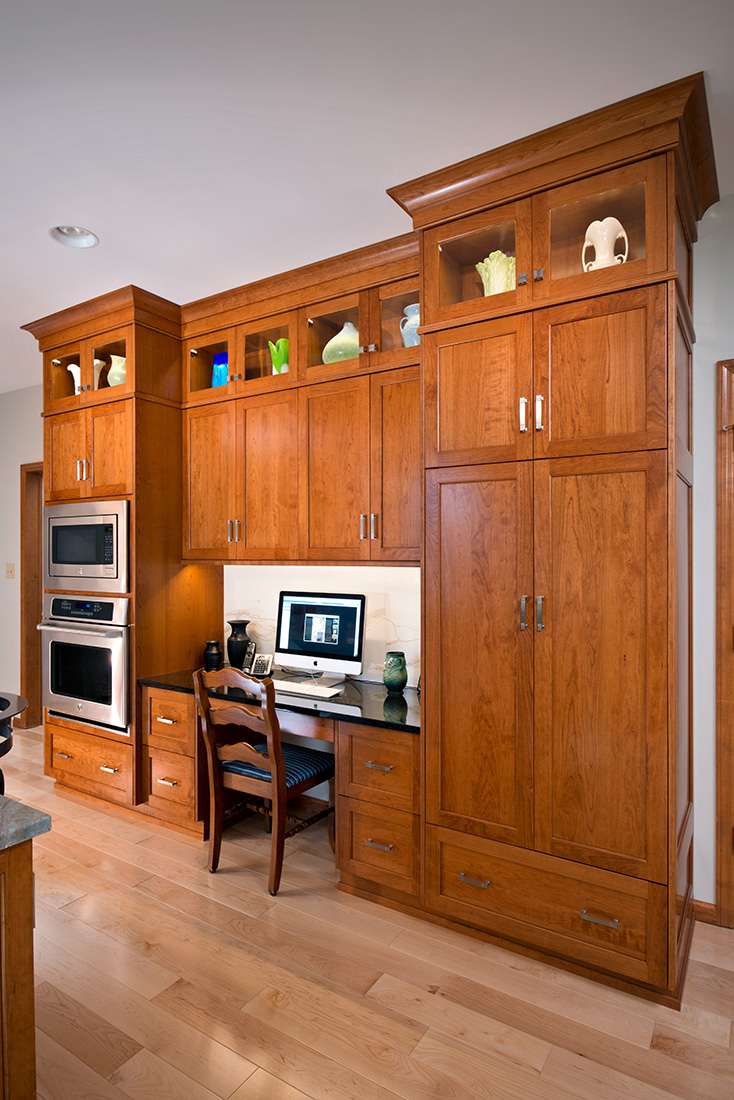
Cabinet Designer and Shop Production Manager Robert Page created the new custom vanity with undermount sink, which sees to the client’s’ storage and convenience needs. And the rest of bathroom elements, masterfully crafted by Project Manager Jeremiah Mills, came together in a meeting of rectilinear, modern style and spa-level luxury.
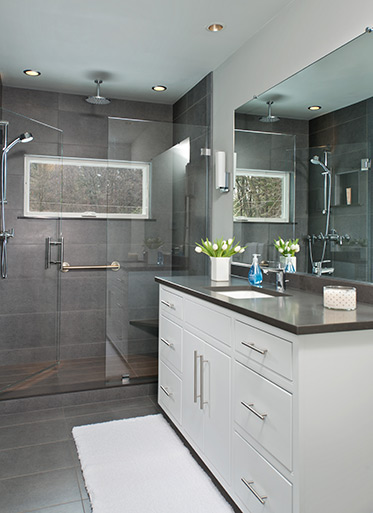 The custom shower features a hinged glass door which swings in both directions, a rain shower head located in the the ceiling, stacked porcelain tile, and a new fiberglass window in the shower with a specialty stone sill, all resistant to rot, which can open to let in fresh air. It also features a recessed niche and a seat.
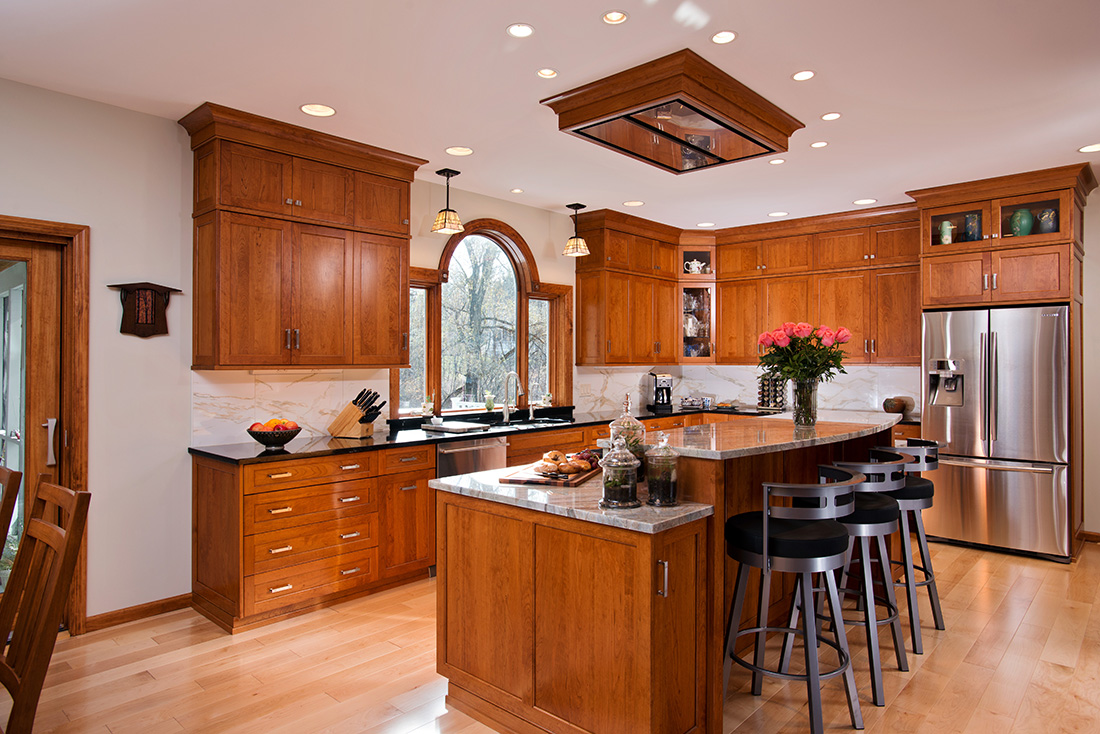
The overall effect is one of streamlined elegance–clean, modern, and efficient.
“The clients were thrilled with the end result, and we are about to begin our next renovation with them,” says Brian. “That’s the most rewarding part of any project, knowing that you’ve met your customer’s needs to the point where they are looking forward to calling you back for the next item on their wish list.”

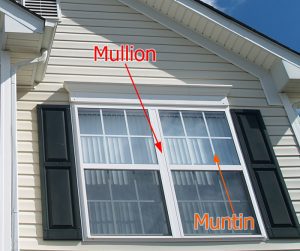 The framing that is used to separate and hold pieces of glass within a window is called a “muntin”, sometimes called “muntin bars”, “sash bars”, or “glazing bars”. Typically muntins are made of wood or metal. Historically muntins were used because it was less expensive to use smaller pieces of glass, rather than a large single pane of glass.


 For the first time, the MOMs club will be joining Rotary by hosting a kids craft table at a popular annual fundraising event, a pancake breakfast on April 29th. Proceeds from the event will benefit the local Burnt Hills Ballston Lake community.

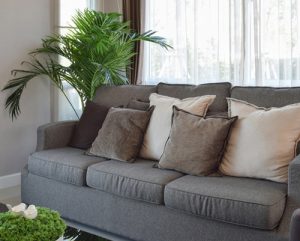 Do – Know how big the houseplant is going to get.
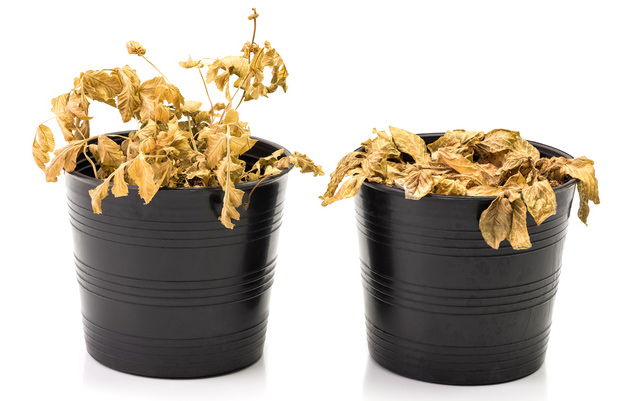 Don’t – Feel bad if your first attempts at keeping a houseplant don’t go well


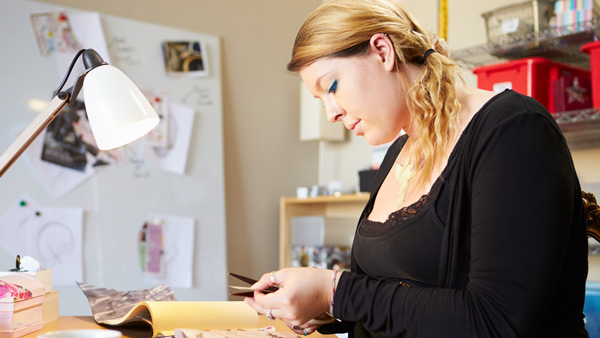 When you’re first starting out we suggest collecting anything and everything that catches your eye. Whether digitally, physically or a combination of the two, add freely to this collection- don’t think about it. Editing happens later, right now we are building a collection of elements that call to you. Some of these images may not end up being used at all and that’s fine. By collecting different images and ideas without editing yourself, you’ll end up finding a pattern or common thread that you naturally gravitate to.
 hat you might not like. For example “I really like the shape of these tiles used in this backsplash” or “I like the style of the cabinet doors, but I would prefer to see it in a different finish”. Write down your thoughts as you go through the images and hold onto it for the next step.